-40%
3 3/8" Snowblower Impeller Upgrade pad Snowthrower Snow Blower Thrower
$ 14.25
- Description
- Size Guide
Description
STARTING MARCH 9th BLOWOUT, BUY TWO GET ONE FREE (a whole free 3 pad set). You may only need one, but maybe that snowblower isn't in the best condition and may upgrade later, having impeller pads will help sell the old one and will have another set for your new snowblower, and a spare to give to friend or something. thanks.Slushy, wet snow is thrown far instead of just dribbling out the chute and/or clogging it.
And these make 'regular' and fluffy snow throw much farther.
Manufacturers leave a space between the impeller and the impeller housing to prevent them possibly hitting and causing damage. So instead, this rubber yields under friction and prevents damage while bridging the gap there which causes clogging or distance problems. This is the same high-quality, durable SBR rubber used for paddles on Single stage snowblowers and snow plow lips. This can be used on any dual stage aka 2 stage snowblower. Not recommended for plastic impellers but youtube videos have them installed on plastic impellers and they hold up.
Now with 1-3 day shipping, and Grade 8 yellow zinc nuts and bolts instead of grade 5s. Washers are silver grade 5.
Grade 8 yellow zinc is stronger and more corrosion resistant than grade 5. Hot dipped galvanized or stainless steel hardware would be the most corrosive-resistant but they are mostly only Grade 2 strength.
Salt + moisture in a snowblower causes corrosion, so it's recommended to wash salt out the machine routinely even with just a bucket of sink water if your hose has been winterized. But most stock hardware in snowblowers is grade 5-8 zinc and these should hold for up as long as the rest of the machine hardware.
_________________________________________________________________
Includes:
3 pads:
3/8" thick 2" x 5" (allow for slight variation since these are hand cut).
Ten:
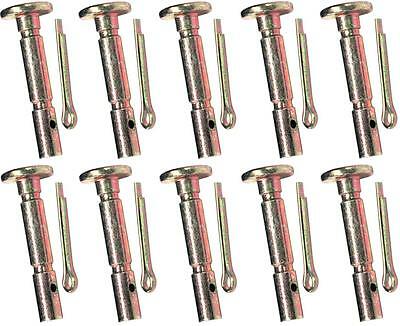
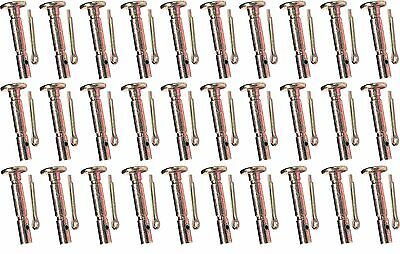
grade8 1/4" x 1.25" hex bolts.
Ten
: grade8 1/4" nylon lock nuts.
Nine
: grade5 fender washers. (per pad is 3 nuts, bolts and washers. plus a spare nut and bolt in case you cross thread one).
2 bolts per pad should hold up as good as 3 per pad, it's up to you.
It's recommended to use a pad on each impeller fin - If you install only 1 pad for the snow blower, it may unbalance the impeller and cause bearing wear.
Fender washers hold as good as a metal strap and are easier to work with. Metal straps with pre-made holes dictate where the holes need to be drilled which can cause a problem because many impellers have a cross brace on the underside which means you can't put a bolt there, you'll have to bolt it in the plate's next hole over which might not all line up right. With these washers you can put bolts wherever you need.
______________________________________
Easy install:
First step is
Unplug the spark plug boot,
and keep it propped away from the spark plug or put some tape over the boot so they can't accidentally connect while installation - turning the impeller with the spark plug connected can jump start the machine and cause injury.
Next, remove the chute.
Place a pad on an impeller and have the pad barely touch the outer housing wall. Use a marker to mark where you want to drill holes in the rubber pad. But first check under the impeller for a possible cross bracing and don't drill a hole right over it or too close so that the nut won't fit. Drill the holes in the rubber pad. Place the rubber back on impeller and transfer the holes to drill into the metal impeller using a marker (if the rubber pad is too thick for a marker tip to reach the metal, use a small paint brush or scratch the metal with a nail).
If you have carriage bolt heads inside the housing (or any other small things sticking out in the way of the rubber pad), cut a small arched notch out of the rubber with a utility knife to just barely clear the protrusion (usually this is not necessary though and the rubber will shave itself down where carriage bolt heads are). To drill the metal impeller, jam it prevent it moving while drilling (picture shows a hammer claw used to pull up on the impeller while drilling works well) . To prevent the drill bit from sliding around when starting a hole, tap a small dent in the impeller with an awl. If you don't have an awl, an old Philips screwdriver could work.
You may need a ratchet extension to reach the impeller to install the nuts and bolts. And might need a Box End wrench to fit the small area to hold the nut/bolt head stationary on the underside of the metal impeller while tightening the bolt from the top with a ratchet.
Once all the pads are installed, bring the machine outside away from cars etc and run the snowblower and the impeller (this will shave down the rubber pads so they're tight to the impeller wall and will also shave down the rubber if any carriage bolt heads are sticking out from the impeller housing wall). Be aware that some metal shavings from drilling will go flying unless you vacuum out the snowblower after drilling. Use at your own risk. If the pads were installed too tight to the wall, the impeller may struggling to turn. If so, turn the machine off, remove spark plug boot and use a utility knife to trim away a small amount of the pad(s).
Over time, the edge of the pads may wear down. Instead of disassembling all the nuts and bolts and re-drilling new holes in order to reposition the pads tight to the side wall again, you can drill the original holes as an oval by two side-by-side holes, and then just loosen the nuts and bolts and slide the pad out a bit.
____________________________________________________________________
Enjoy.


